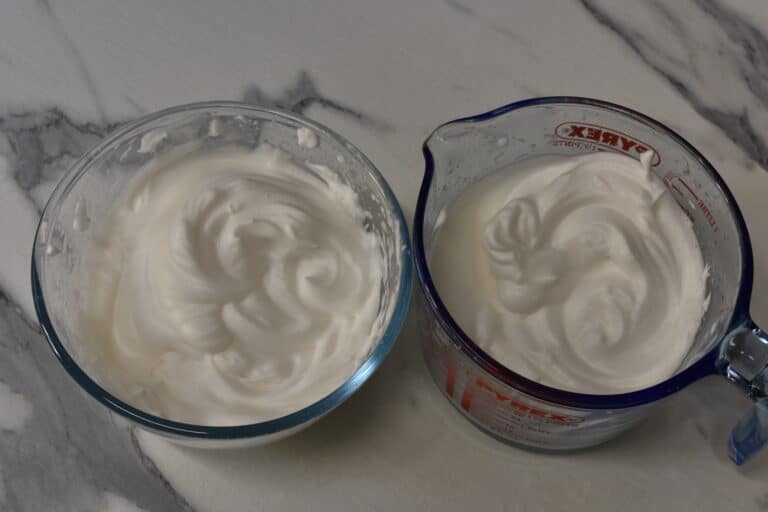
Welcome to my complete guide on aquafaba! Here you’ll learn what aquafaba is and how to make it and use it for desserts and savoury recipes. You’ll also find troubleshooting tips and recipe suggestions.
- What is aquafaba? What does aquafaba mean?
- Who discovered aquafaba?
- Which legume is best for aquafaba?
- Should you use tinned or dried chickpeas?
- What does aquafaba taste like?
- How much aquafaba equals one egg?
- How to make aquafaba
- How to whip aquafaba
- Do you need cream of tartar?
- My experiment on whipping aquafaba from dried vs tinned chickpeas
- Can you overwhip aquafaba?
- Why won't my aquafaba whip?
- Uses for aquafaba
- How long can you keep aquafaba in the fridge?
- What to do with the chickpeas
- More information about aquafaba
What is aquafaba? What does aquafaba mean?
Aquafaba (pronounced ɑkwəˈfɑːbə) is the name given to the viscous water that chickpeas, beans and other legumes have been cooked in.
The term Aquafaba comes from the Latin words aqua (water) and faba (bean).
Aquafaba is used as a replacement for eggs and egg white. It has a wide spectrum of emulsifying, foaming, binding, gelatinizing and thickening properties, thanks to its composition of carbohydrates, proteins, and other soluble plant solids which have migrated from the legumes to the water during cooking.
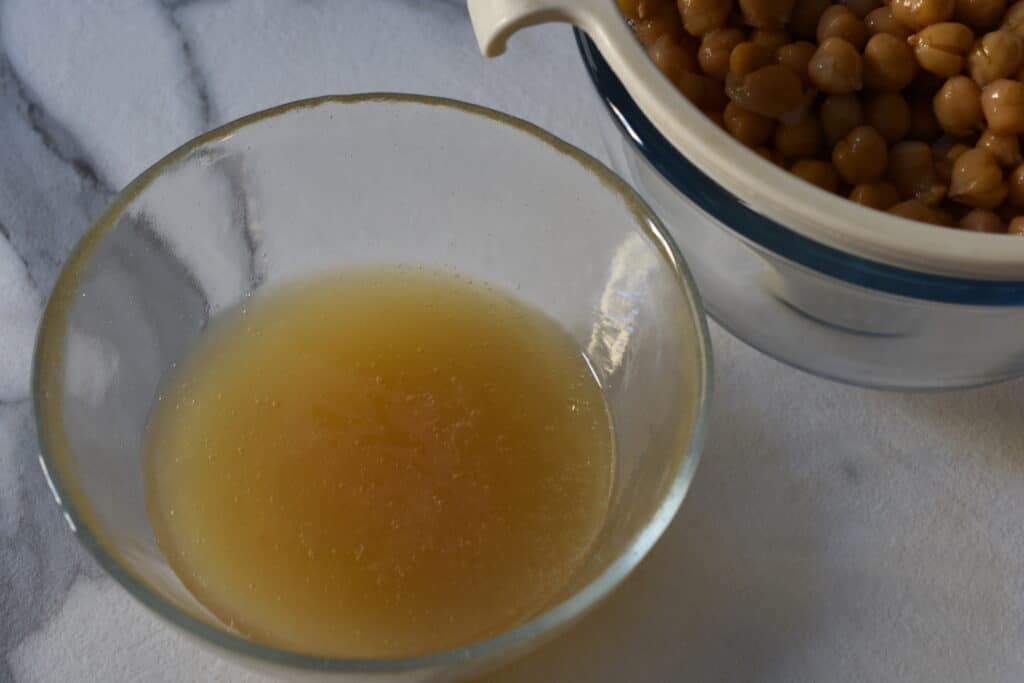
It isn’t a perfect egg substitute because it doesn’t cook like eggs. You can’t make scrambled eggs with it, for example. There are other egg substitutes that work better for scrambled eggs, cakes, and brownies.
Who discovered aquafaba?
In December 2014, a French tenor and musician, Joël Roessel, found that the viscous water from tinned beans can form foams much like protein isolates and flax mucilage do. Roessel shared his experiments on a blog and published recipes for chocolate mousse, meringues and other desserts.
Around the same time, vegan food enthusiast Goose Wohlt discovered that the cooking liquid can replace egg white without the need for stabilisers. In March 2015, he published a recipe for egg-free meringue using only chickpea liquid and sugar.
A few days later, a Facebook group was created to encourage development and popularise the egg substitute.
Which legume is best for aquafaba?
Chickpeas are the preferred legume for making aquafaba. Their cooking liquid tends to be clear and light-coloured. It looks similar to egg white and turns pure white when whipped. Chickpeas are also one of the most common legumes and most people have some in their pantry.
White beans can also be used instead of chickpeas. The cooking water from beans tends to be cloudier than that of chickpeas. It’s best to avoid dark-coloured ones like black beans and red kidney beans when making meringues and light-coloured desserts – unless you want grey or pink hues! If you’re adding aquafaba to something dark-coloured, then the cooking water from black or red beans is perfectly fine.
Should you use tinned or dried chickpeas?

Tinned chickpea water will give you perfectly good results – there’s no question about that. The original experiment was conducted using the cooking water from tinned chickpeas. If you want to use the aquafaba from tinned chickpeas, there’s absolutely no reason why you shouldn’t. Do what is most convenient for you. Below you’ll find indications on how to make and use aquafaba from both tinned and dried chickpeas.
I make aquafaba from dried chickpeas because I use dried legumes as opposed to tinned for all my recipes. I soak a kilo of dried pulses and cook them in one big batch in a pressure cooker. Immediately afterwards, I jar what I don’t need that day. That way, I’ve always got a stash of 5 or 6 jars of each type of bean that I use regularly, as well as chickpeas. Whenever I need a jar, I just unscrew the lid and use them in the same way you would use tinned beans or chickpeas. If you want to learn more about home jarring/canning, you can read my post on How to make and jar tomato sauce. The jarring/canning procedure for beans is identical. In the near future, I’ll write a post specifically on how to jar or can beans and chickpeas.

I think you achieve better results all round with dried pulses which have been soaked and then cooked in a domestic environment. I find homemade aquafaba has a more pleasant taste and better viscosity. You can also regulate the sodium content by adjusting the amount of salt according to your needs. Or you can omit it completely if you want. There are no rules about whether aquafaba should contain salt or not – both salted and unsalted work fine in any recipe.
What does aquafaba taste like?
Aquafaba tastes mildly of chickpeas (or the bean or legume it was made with). How salty it tastes obviously depends on how much salt was added to the water. If you use tinned chickpeas, you have no control over that – unless you buy unsalted ones. Once aquafaba has been mixed with other ingredients in a recipe, you won’t be able to taste the chickpeas or beans at all. Not even in meringues. The same applies to salt – you won’t be able to taste it.
How much aquafaba equals one egg?
What is the ratio of egg to aquafaba? Below you’ll find the exact conversion ratios. The indications are for aquafaba in its liquid form, before whipping.
One medium egg yolk = one tablespoon of aquafaba
One medium egg white = two tablespoons of aquafaba
One medium whole egg = three tablespoons of aquafaba
How to make aquafaba
From tinned chickpeas
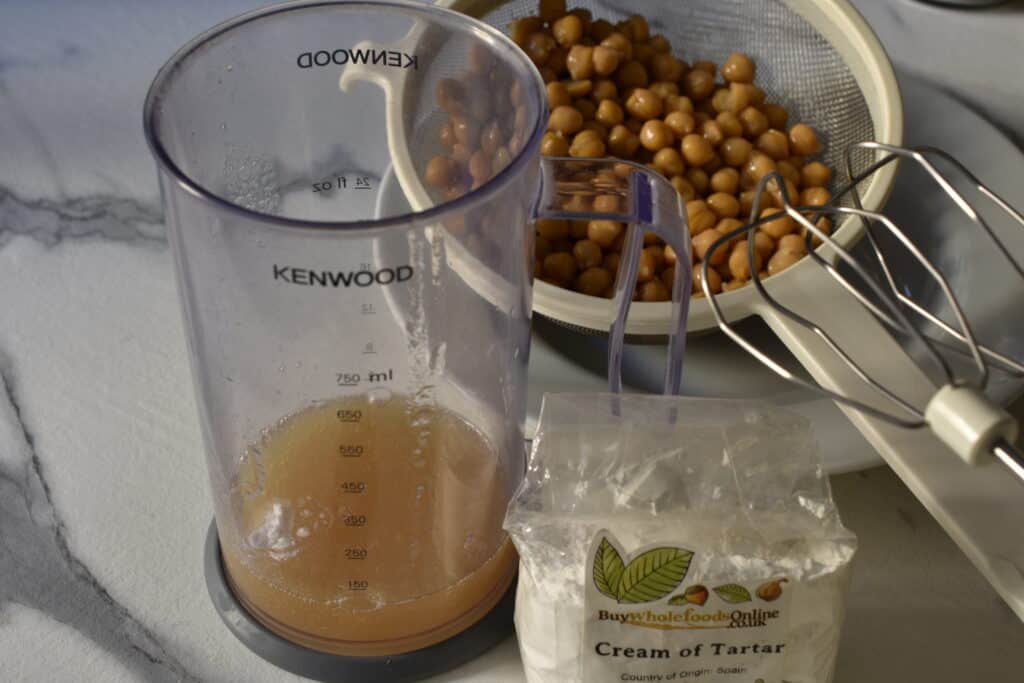
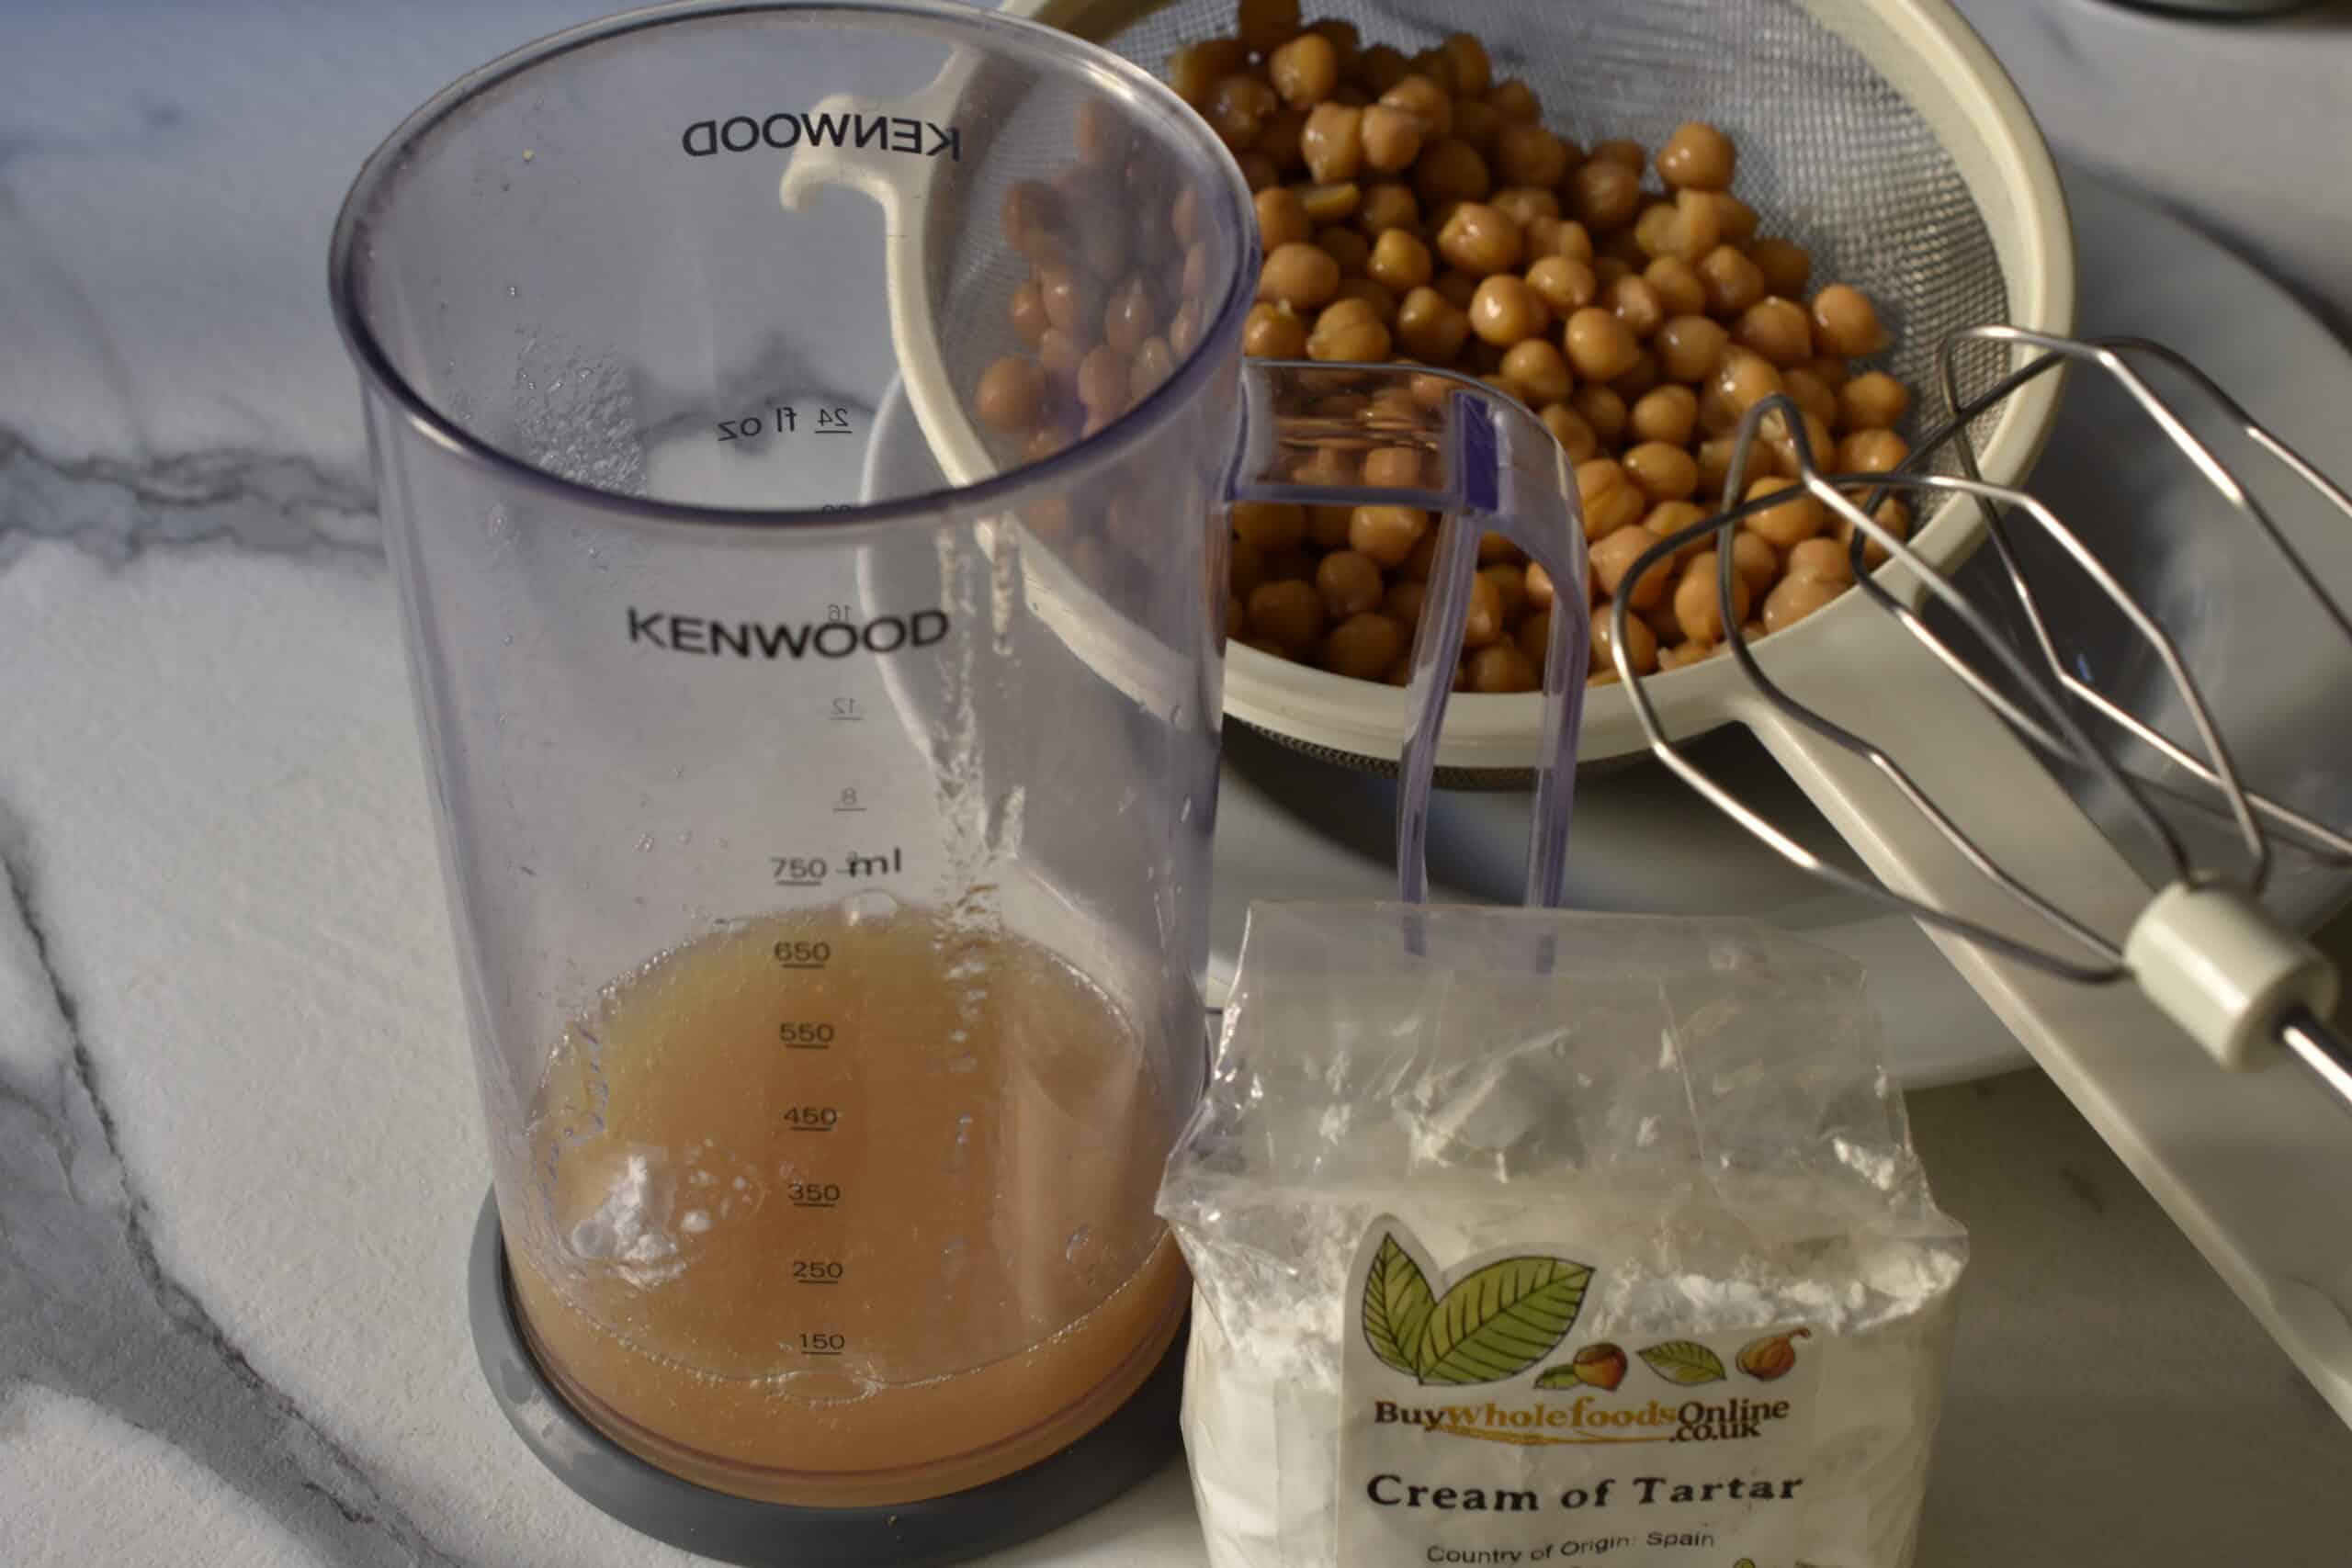
Strain the chickpeas, reserving the liquid. A tin of chickpeas will yield about 10 – 12 tablespoons. Examine the liquid – it should look viscous and have a similar consistency to egg white. If it looks thin, pour it into a saucepan and simmer it gently on a low heat to reduce it. Reduce it by about 25%, remove from the heat and leave it to cool completely.
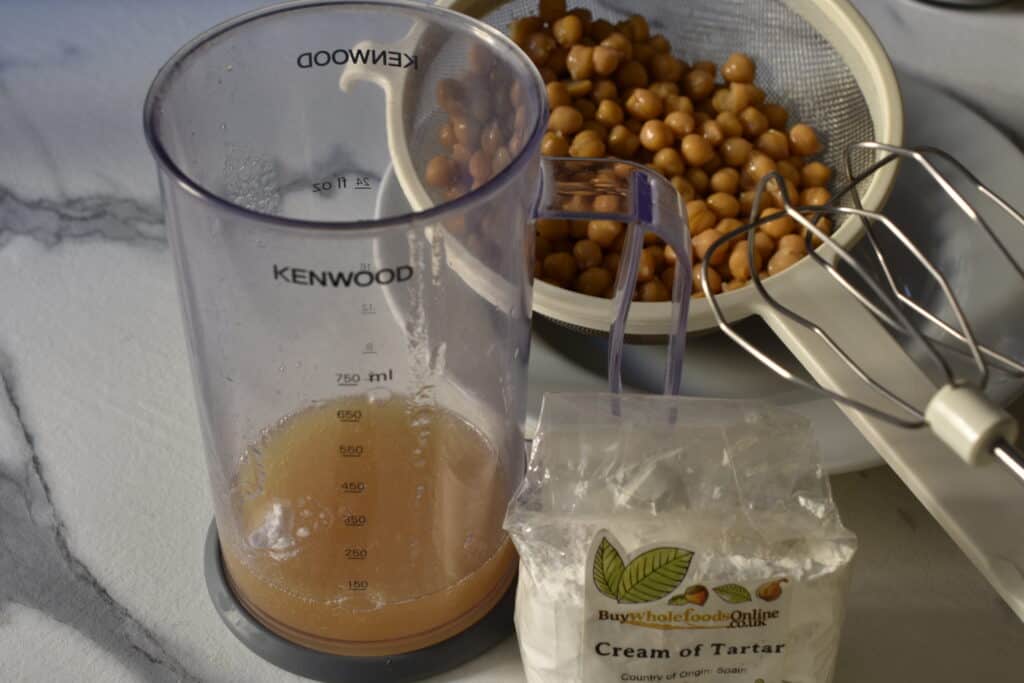
Pour the liquid into a container with high sides and big enough to easily accommodate the blades of your electric whisk. Add a small amount of cream of tartar (about 1/8 teaspoon) and start to whip the aquafaba on a medium-high speed. It will take a while, so be patient. Some people say that it takes them up to 10 minutes. It took me 3 minutes to whip it into stiff peaks. Check out my step-by-step instructions with photos in the recipe card below.
From dried chickpeas
How to soak the chickpeas
Soak your chickpeas overnight or for up to 24 hours in cold water. After soaking, they won’t look like little bullets anymore – they’ll be nice and plump and wrinkle free. Rinse the chickpeas well and transfer them to a saucepan or pressure cooker. Make sure there’s enough (cold) water to keep them covered during the cooking process. Add a small amount of salt, preferably unrefined sea salt. I add about 1 teaspoon per kilo of chickpeas or beans. You can always add more later if necessary.
How to Cook the chickpeas
I use a Crockpot for cooking chickpeas. It has a “beans and chili” function, which is pre-set for 20 minutes.
If using a different kind of pressure cooker, consult the manufacturer’s instructions for cooking chickpeas and beans. If there are none, calculate about 10 minutes, plus 10-15 minutes standing time to allow the pressure to drop before opening the pressure cooker.
In a regular saucepan, cook the chickpeas (or beans) until tender but not falling apart. In the case of chickpeas, this usually takes about an hour, depending on the type and size of chickpea, and how long they were stored in their dried state. The older they are, the longer they will take to cook. Keep the chickpeas covered with water during cooking, adding more if necessary. In a pressure cooker, there should be about 1 cm of water over the chickpeas to ensure they don’t dry out. They absorb water as they cook.
When cooked, allow the chickpeas to cool completely in their water. When cold, the chickpea (or bean) water will have a viscous, gelatinous appearance and is now ready to be used as aquafaba in desserts or other preparations. Strain it through a sieve, keeping the chickpeas for another dish (see recipe suggestions below).
How to whip aquafaba
In some dishes, aquafaba is used in its liquid state. If your recipe calls for whipped aquafaba, proceed as follows.
Put the (cold) aquafaba in a clean container with high sides. Add 1/8 teaspoon of cream of tartare and whisk using the attachment for whipping cream. Whip it on medium-high power until it looks like whipped egg whites and it’s stiff enough to form peaks.
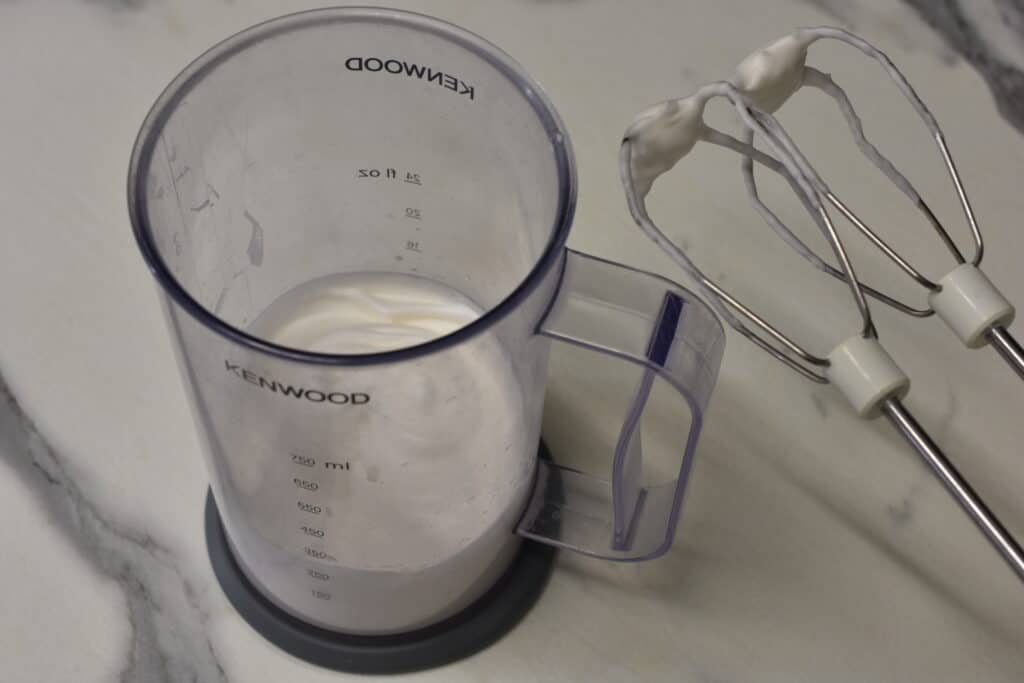
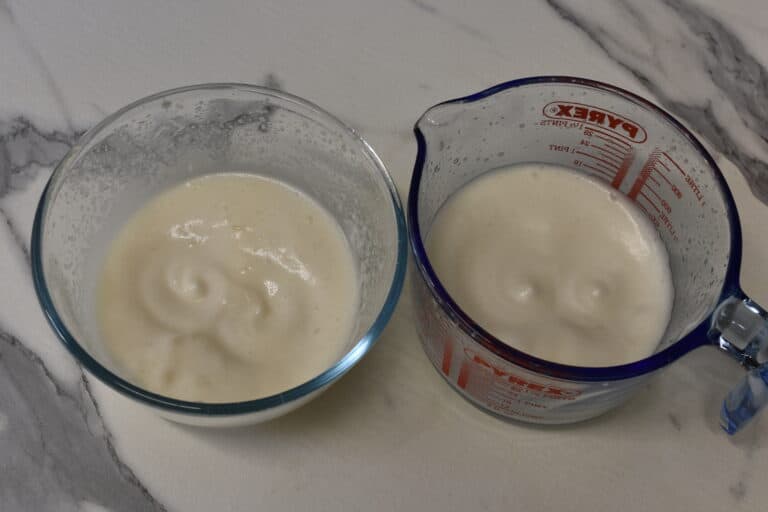
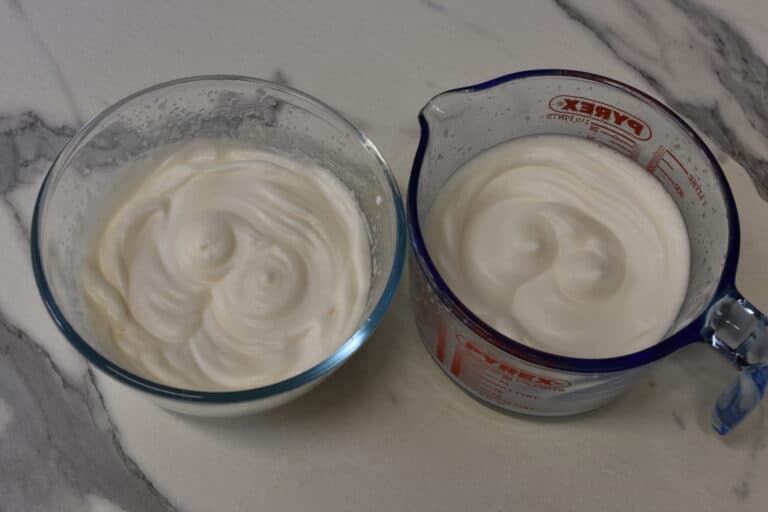
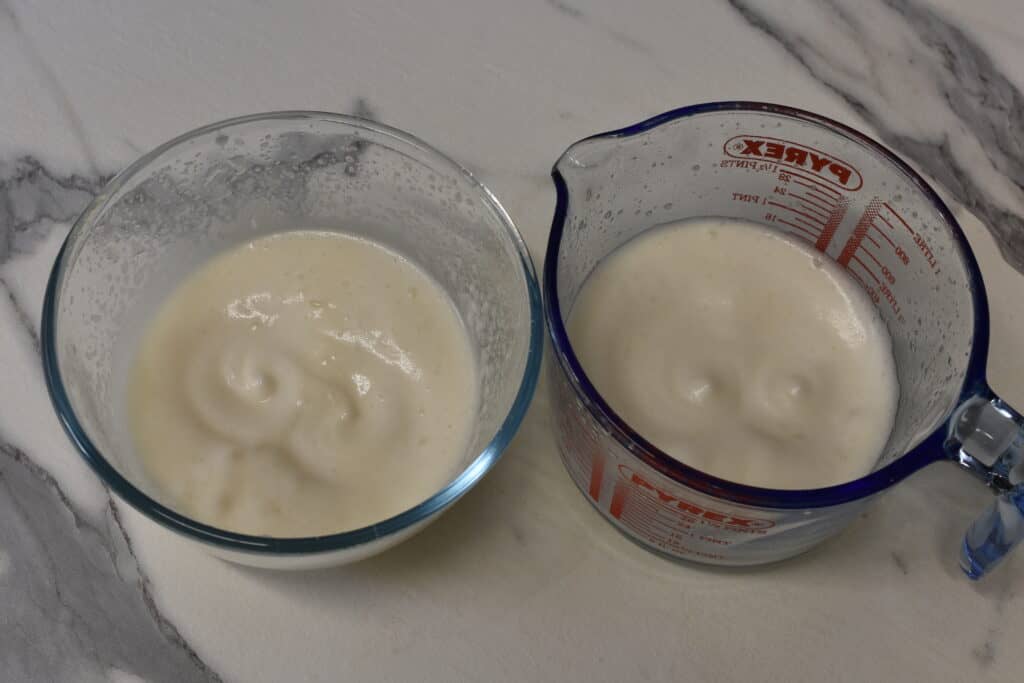
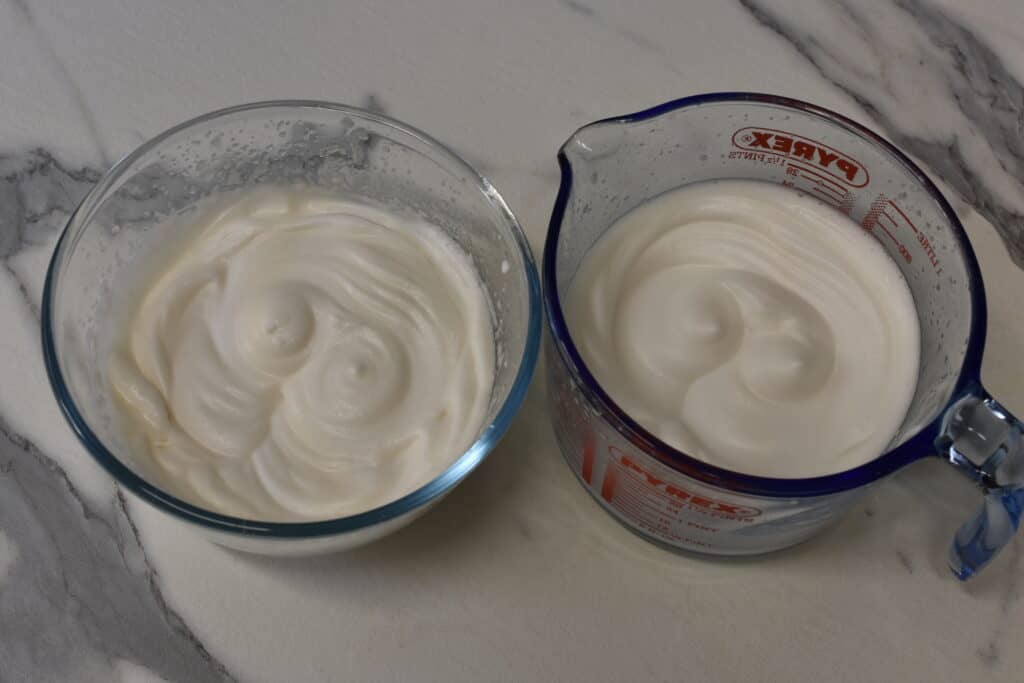
This can take longer than with egg whites. Some people say it takes up to 10 minutes, so don’t give up – keep whipping! Personally, I find it quick and easy to whip aquafaba – it took me just 3 minutes to reach stiff peaks (see photos below).
Do you need cream of tartar?
Cream of tartar isn’t absolutely necessary, but aquafaba whips up more easily and quickly if you do add it. If you don’t want to go to the trouble and expense of trying to find cream of tartar, you can either do without, or use a substitute like baking powder, lemon juice or white vinegar.
Serious Eats performed extensive experiments on aquafaba, with and without the use of cream of tartar. Read about the results of those experiments here.
My experiment on whipping aquafaba from dried vs tinned chickpeas
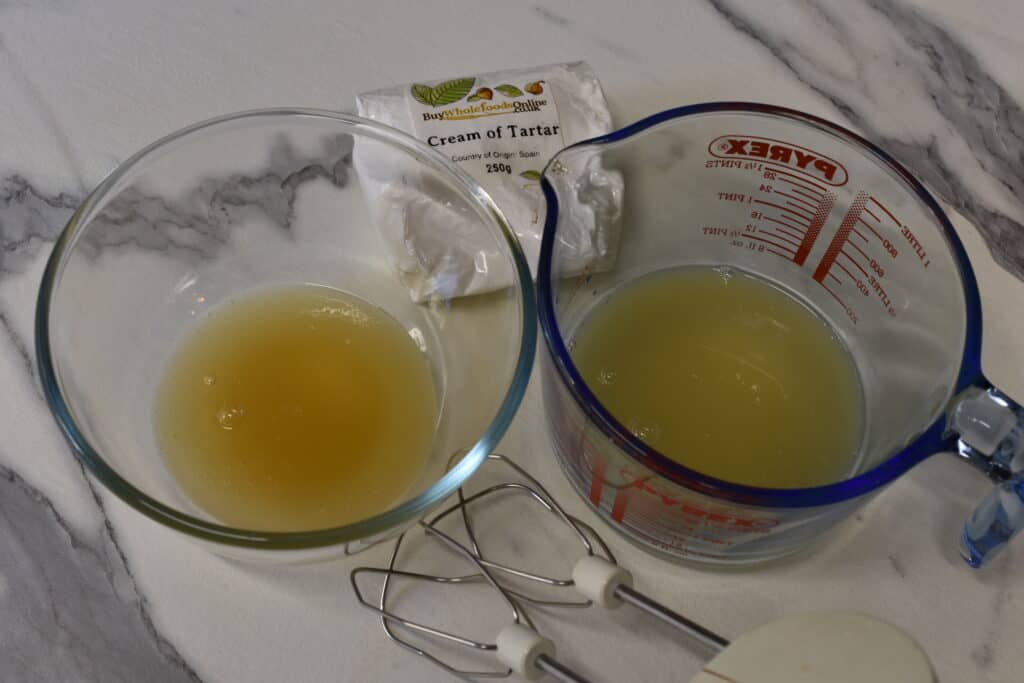
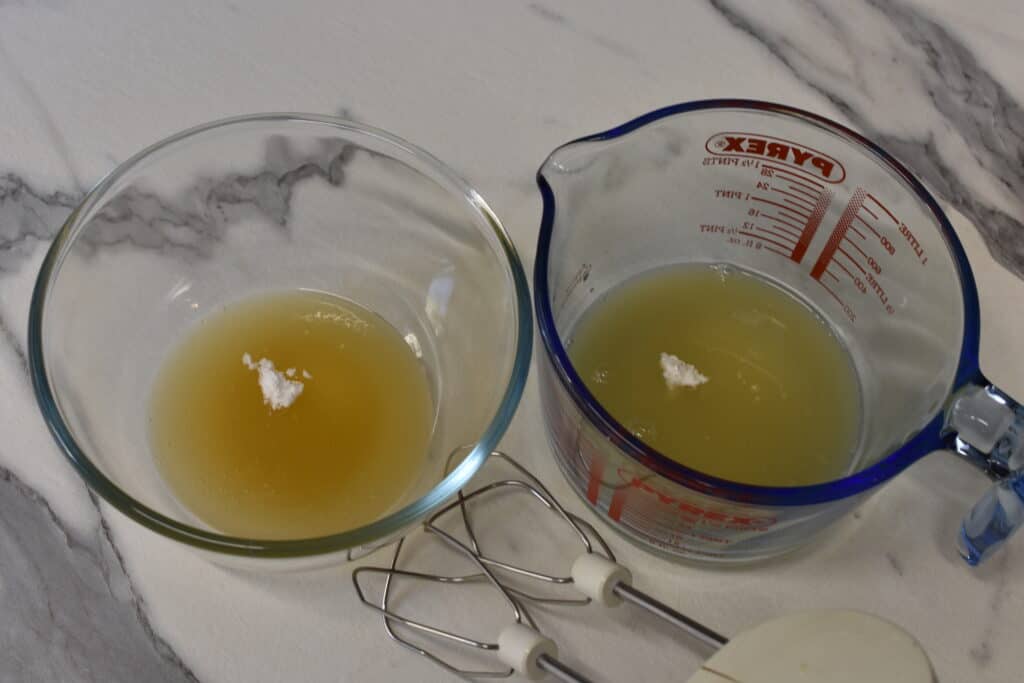
I conducted an experiment where I compared the viscosity, taste and whipping ability of aquafaba from dried chickpeas and tinned chickpeas (see video and photos below). Aquafaba from dried chickpeas is on the left, and aquafaba from tinned chickpeas is on the right (in all photos).
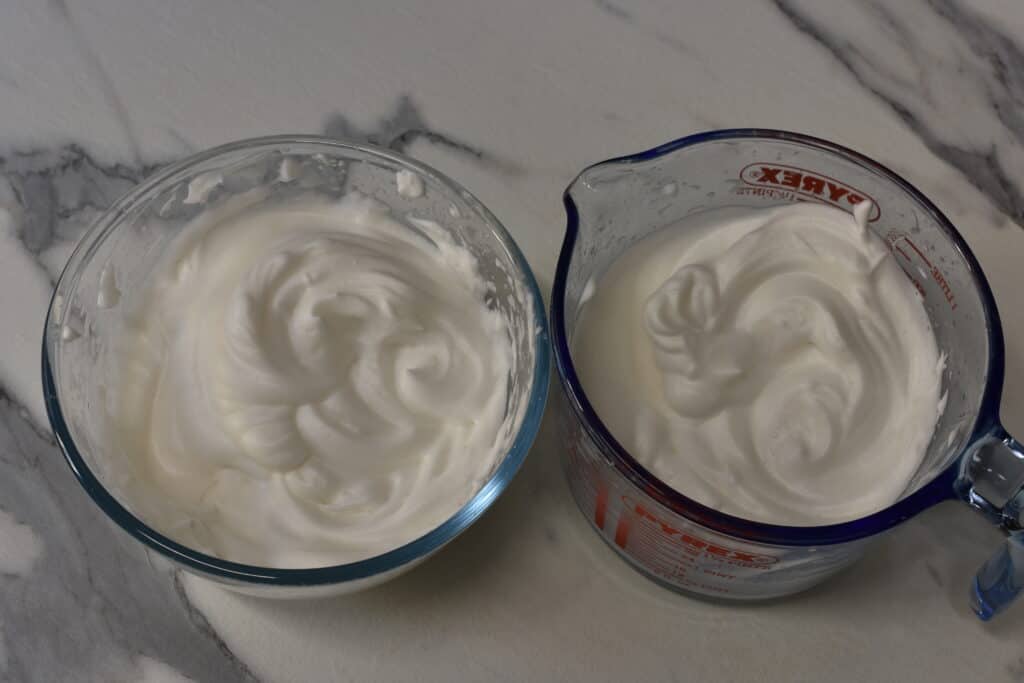
Conclusion
Perfectly acceptable results can be obtained from the cooking water (aquafaba) from both tinned and dried chickpeas. Use what is most convenient for you!
Can you overwhip aquafaba?
Yes. Just like egg white and cream, you can overwhip aquafaba. If you overwhip, it tends to collapse. If this happens, you’ll have to start over.
Why won’t my aquafaba whip?
There could be several reasons for aquafaba not whipping.
1. Your aquafaba is too thin
If you follow my instructions for obtaining aquafaba from dried chickpeas, it won’t be too thin. When using tinned chickpeas, first make sure that the consistency is similar to raw egg white. If it seems thinner and won’t whip, start again with some more aquafaba (without adding cream of tartar). Heat it up in a saucepan and reduce it by a quarter or a third. Allow it to cool completely before adding cream of tartar and attempting to whip it.
2. You didn’t use an electric hand mixer or stand mixer.
I use an electric hand mixer, which has always worked for me. If you have a stand mixer, that would be even better. Don’t even try to whip it with a manual hand whisk because it’ll never work. It needs to be whipped vigorously to achieve peaks.
3. You didn’t whip for long enough.
Aquafaba will take longer to whip than egg white and cream. It can take up to 10 minutes to see any sort of peak form. So don’t get discouraged and keep whipping.
4. You forgot to add cream of tartar.
Cream of tartar acts as an emulsifier, so adding 1/8 teaspoon before you start whipping helps the liquid form a dense foam that will peak and remain stable for longer. If you don’t have any, you could use lemon juice, a neutral-flavoured white vinegar or baking powder instead. It is possible to achieve peaks without a stabiliser. But will take longer and it won’t be as stable. After a while, it will start to deflate, but if you work quickly, you can finalise the recipe before that happens. And if the worst comes to the worst, you can re-whip it. It’ll come back to peaks in a couple of minutes.
5. You added the sugar all at once.
When adding sugar to your aquafaba as you whip it, don’t just dump it in all at once. That will cause the air in the aquafaba to deflate and slow down the whipping process. Instead, add the sugar slowly, a little at a time, until it’s all combined.
6. You whipped it for too long.
Like egg whites and cream, you can overwhip aquafaba. Once stiff peaks have formed, stop whipping. Overwhipping will cause your aquafaba to deflate. If this happens, you’ll need to start again.
7. Your container could be greasy
Make sure your container is perfectly clean because grease can prevent your aquafaba from whipping. Plastic containers are notorious for retaining a greasy film, especially after washing by hand. Dishwashers do a better job of getting into the corners and eliminating fat deposits.
Uses for aquafaba
Aquafaba can be used instead of egg in a multitude of dishes. Here are some of the most common ones.
Savoury dishes
- mayonnaise
- soufflés
- savoury muffins
- flans
- aioli
- vegan butter
- meatloaf
- vegan burgers
Sweet dishes
- mouse
- meringues
- nougat
- macarons
- marshmallows
- ice cream
- fudge
- icing
- buttercream
- brownies
- biscuits
- lemon meringue pie
Cocktails
- whiskey sour
- gin fizz
How long can you keep aquafaba in the fridge?
In its liquid form, aquafaba will keep in the fridge in a container with a lid for 2 or 3 days.
You can also freeze it in convenient portions of 1, 2 or 3 tablespoons and keep it in the freezer for a couple of months.
I believe it’s possible to keep whipped aquafaba in the fridge for a couple of days, although I don’t know why anyone would want to do that.
What to do with the chickpeas
With the leftover chickpeas, you could make hummus. You don’t need the cooking water to make hummus because the lemon juice, olive oil and ice cubes provide enough moisture to get the blender moving and make a lovely smooth hummus. Otherwise, you could try making my Chickpea, cauliflower and spinach curry or Chickpeas in creamy hot smoked paprika sauce. You don’t need the cooking liquid for those recipes either – the sauces are made with coconut milk. I’ll be publishing them very soon, so watch out for them!
More information about aquafaba
I hope this post was exhaustive and helpful. Being a recent invention, people are still making new discoveries about aquafaba and its uses. If you’re curious and would like to find out more, especially concerning people’s first-hand experience, consider joining one of the Facebook groups dedicated solely to aquafaba.
Aquafaba (Vegan Meringue – Hits and Misses!)
Please feel free to post your own experiences with aquafaba in the comments below!


